Creating An Account/Signing In #
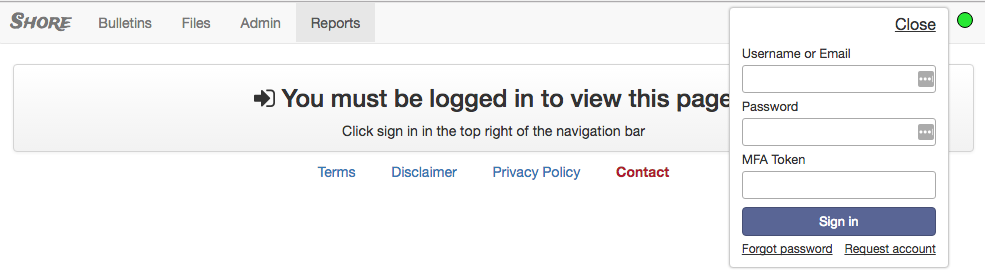
To create an account the user must access the database homepage at Shore. Navigate the pointer to the top right corner of the screen and left click the Sign In button. The user must then left click the Request Account option which will take them to a new screen.
The user then enters his/her information. The fields with a star must be completed before the request will be submitted. They must enter a first name, last name, email address, and a time zone. The other fields can be left blank if so desired.

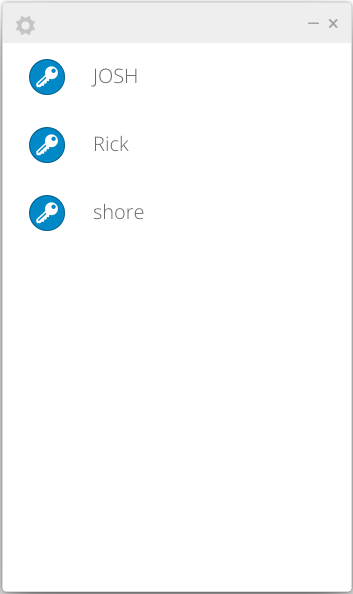
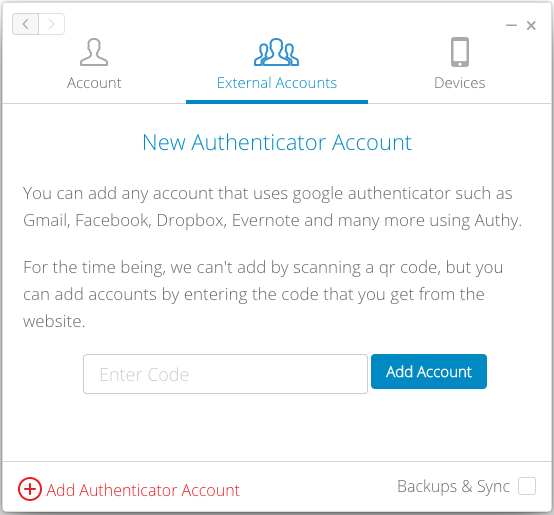
A two step verification is needed to complete the set-up using an authentication app such as Authy or Google Authenticator. This authentication application boosts security giving each user a unique token that changes every 30 seconds. Install one of those two to the device. Below is the Authy application.
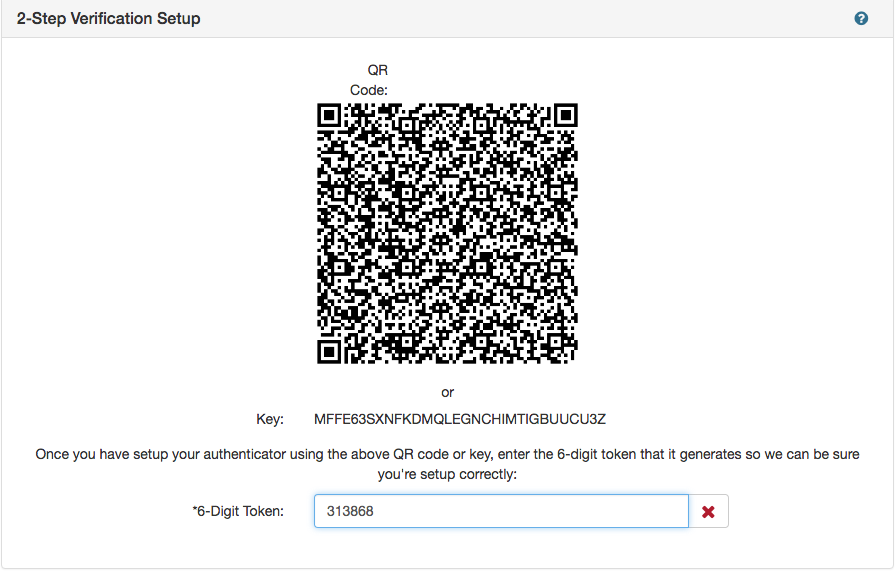
They will have to enter the key (ex. MFFE63SXNFKDMQLEGNCHIMTIGBUUCU3Z) into the authentication app.
The user can scan the QR code if they are using a device with that functionality. The user takes the six digit code that is returned and input it in the 6 digit Token field. Make sure to read the disclaimer BEFORE hitting the request account button
The account signed up for needs to be added by a user with the permissions to do so. This requires an administrator to access the User Permissions section of the Admin Console.
Once the account has been approved or if an account was already created, the user just needs to go to the home database page of Shore. Left click the sign in option on the top right of the page. Enter the user name/E-Mail, password, and then Open the Authentication app to get the MFA token.
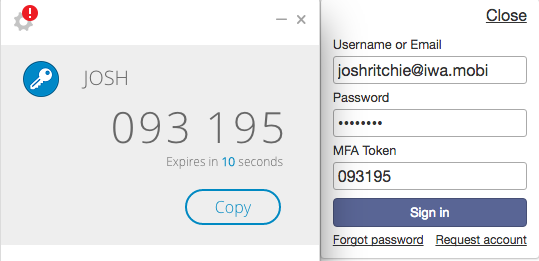
If the user can not access the Authy application because a new device or lost password, please contact the administrator.
When signed in the user will see a box that pops up to tell them they are connected to the server. This can also be checked by the small circular button in the top right of the page.
Notification Settings #
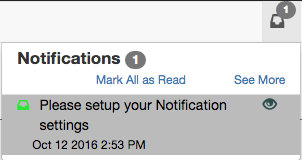
Once signed in for the first time Shore will send the user a message into their notification inbox asking to set up their notification settings.
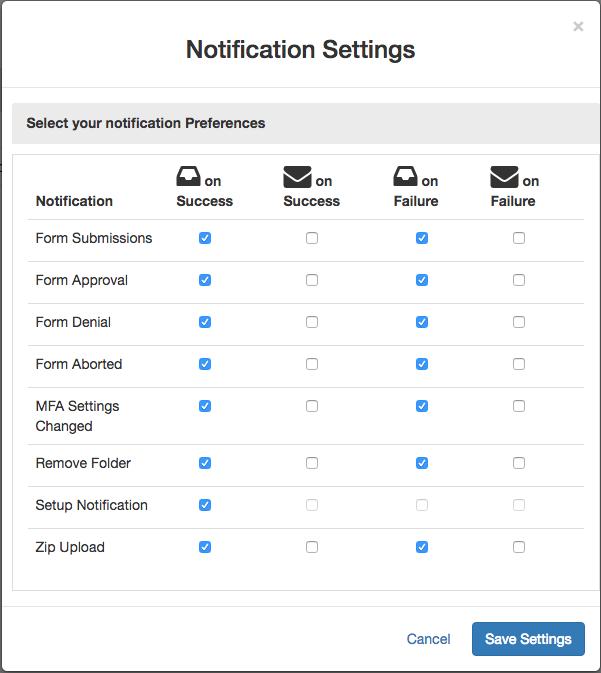
Notifications in Shore tell the user when a change has occurred. Users can decide between a notification in the Shore Application, an email to the users e-mail address, or to not receive any conformation. The settings below are the default ones already selected with every account.
The see more button in the notification inbox allows the user to see a page of their notifications.
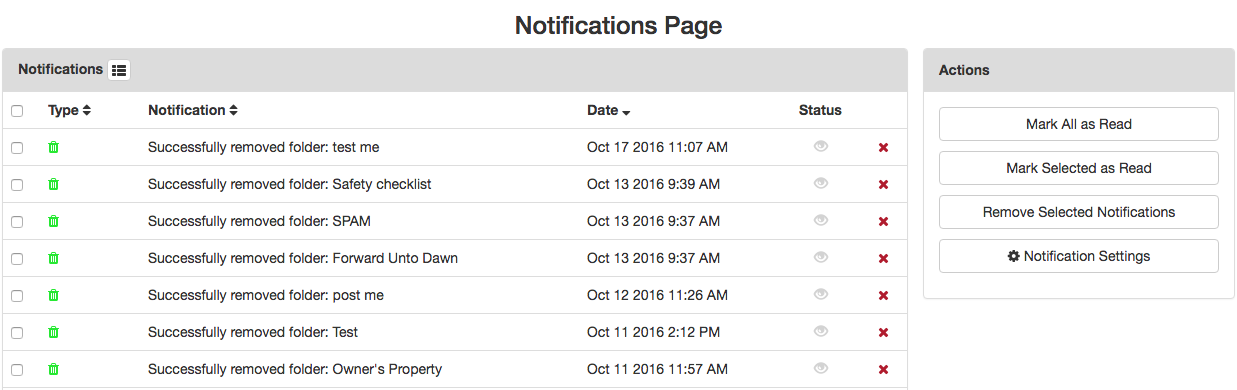
The notifications can be sorted in the table by left clicking on the Type, Notification, or Date category (Ascending/Descending). They can also be sorted by the different types of notifications by left clicking the menu button beside the “Notifications” title.
They can be toggled from read to un-read or vice versa by left clicking the status button beside each notification.
Users can check the boxes on the left hand side of a notification and remove them by left clicking on the “Remove Selected Notifications” button in the “Actions” box.
The settings can be changed at anytime by selecting the Notification Settings button.
Profile #
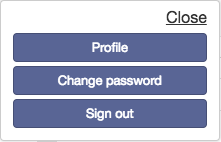
When signed in to access the users profile navigate the mouse to the upper right hand side of the page. Left click on the drop down menu on the users email address. Select “Profile”.
On the profile page the name, company, email, and time zone of the user may be edited. To edit the fields just left-click on the pencil symbol and change the field to what you desire. To save the changes just hit enter.
The profile page will also show all groups if any the user is a part of.
Users can log out all other devices that are using their account.
The reset MFA token will reset your authentication settings in case the user can not remember how to access their authentication application information. Reset MFA will send a request to the site admin and they will reset it for the user. This is a similar circumstance if the user has lost or forgotten their authentication sign-in information.

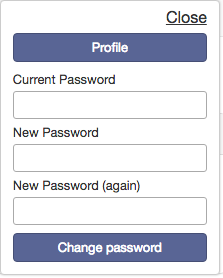
Users can change their password easily by navigating the mouse to the top right corner where their email is located and left clicking on the drop down menu. Select the “Change Password” option and type in a new password.
Users should make sure to use the sign-out option in the drop down menu after they are done with their session.
