Navigating The Admin Console #
The administrative console can be reached by left clicking the admin tab on the nav bar.

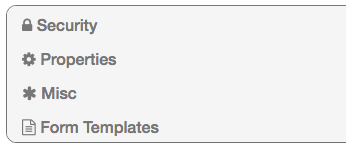
There are a couple of different administrative options to change and choose from. Each of these tabs can be expanded down to specific categories for example the Security tab has “User Properties” and “User Groups”.
Users can quickly switch between categories when in the admin console. They must left click on the slide menu near the top left corner of the page under the nav-bar.

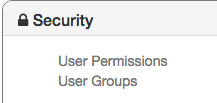
Security #
Security allows users to be added, given access to the database, permissions to be changed, and allows users with permission to make/revise User Groups.
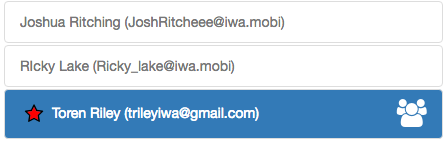
On a quick Note the Security tab allows for easy switching between “User Groups” and “User Permissions” by simply left clicking this icon beside the user’s name on the left hand side. 
User Permissions #
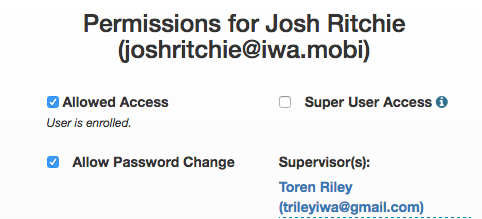
When an account is created the user requests the right to access the data and files. An administrative user has permission to deny or approve the requesting users.
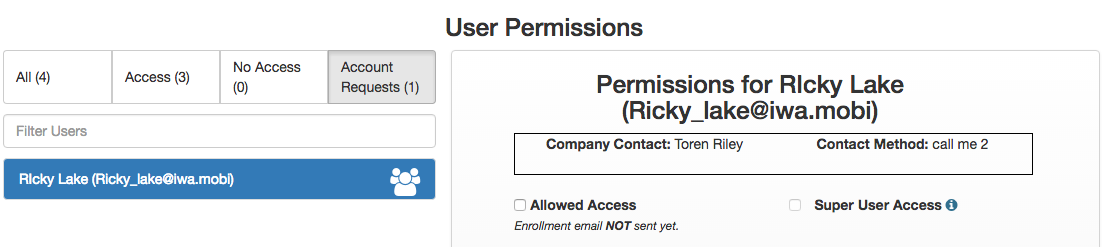
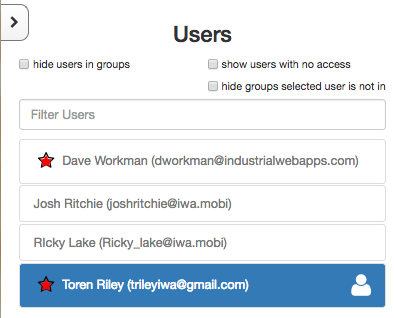
When the user is approved access to the database the administrator has the option to give the user “Super User Access”. This gives the user the power to do almost anything administrative within Shore. The users that have Super User status have a red star beside their name in the left hand side of the page.
The supervisor field can be left blank or the name of a user can be input. Usually the Supervisor is someone who knows what the new user is doing or is someone the user will be reporting to. More than one supervisor may be selected for the user to report to.
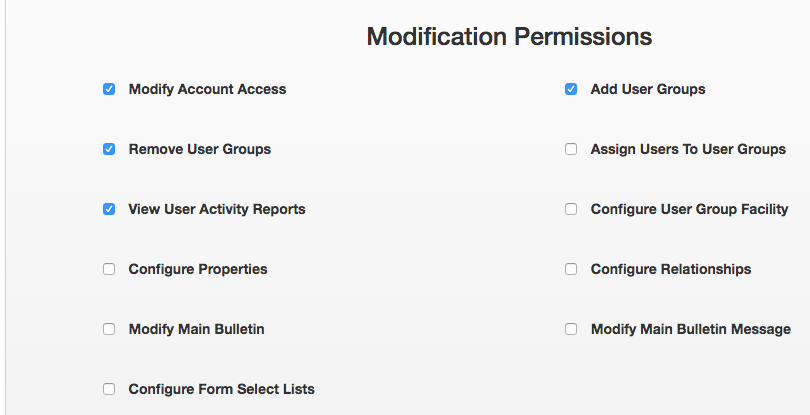
If the user is not granted super access they can be given specific modification permissions such as Approval of new users, adding/removing user groups, or viewing user activity reports.
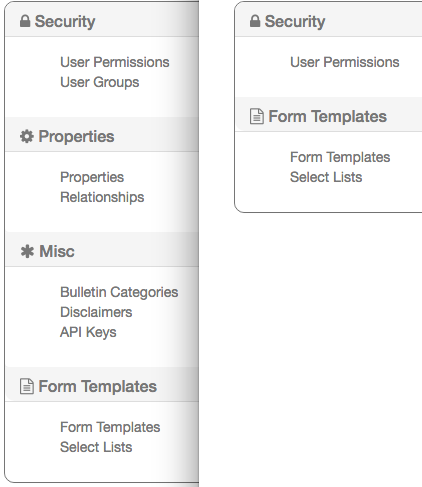
Below is the difference between Super User (Left) and regular user with no permissions(Right), in the admin console. Depending on the permissions granted to the regular user that list can be expanded to show User Groups, Properties, and Relationships as well.
User Groups #
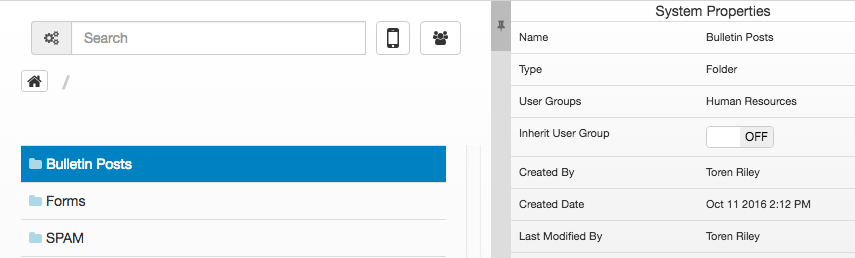
User Groups is an easy way to sort the users into different categories. Users can be restricted to a group where they have only a certain amount of power to edit specific items or create files/folders. If they are not a Super User the user can only see items that are within the group/s that they are in or items that have not been set to a group. (Below is a picture in the Files tab)
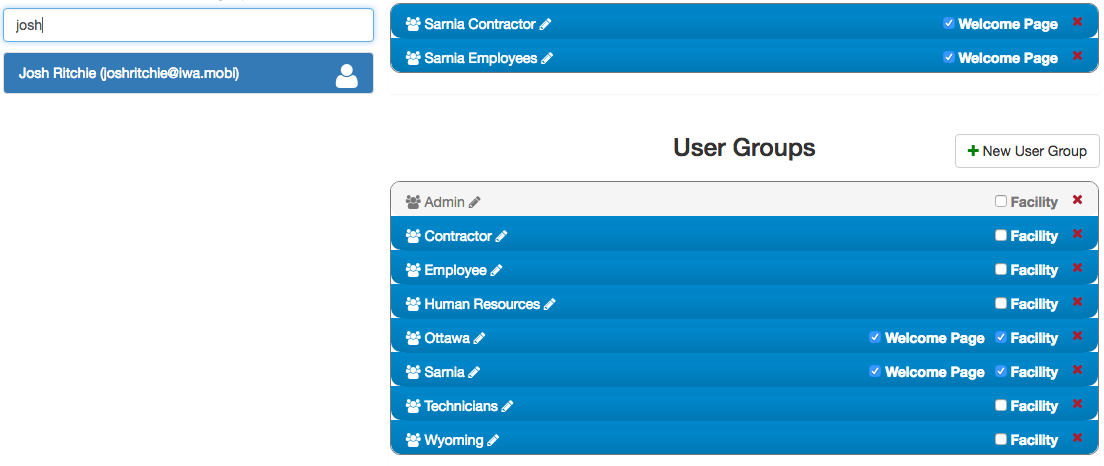
Groups can be created by left clicking on the “New User Group” or “New compound Group” buttons. Groups can also be deleted by clicking on the red “X” beside the Facility check box.
Creating a User group requires just a name and the user can write some notes about the group if desired.

To get users into a group simply drag and drop the persons name from the list on the left hand side into the group they should be in. When the user has joined, the field will be highlighted in blue.
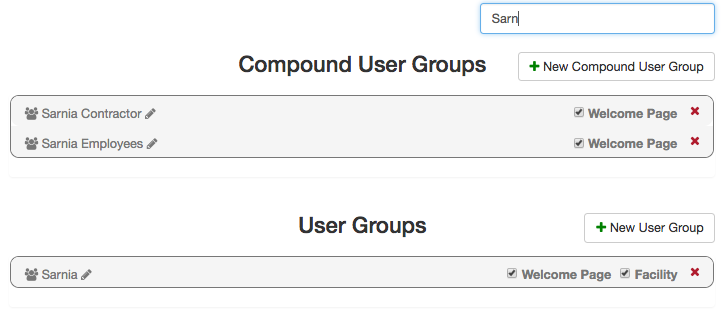
Groups can be filtered by using the search bar in the top right corner of the screen.
Users can be also filtered By using the search field under the “Users” title. Users in groups can be hidden by checking the box that says so. Users with no access to the database can be specifically shown. If a user is selected the other check box “hide groups selected user is not in” can be chosen to show only groups that user is in.
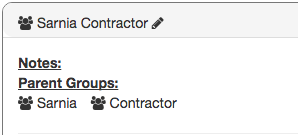
Compound Groups #
A compound group is a group that is made up of at least two different groups where the user must be a part of every group within the compound group to be eligible. To be a “Sarnia Contractor” the user must first be in the groups “Sarnia” and “Contractor”.
When the user does become eligible for the compound group by joining all groups associated with the compound group, they will be prompted to join.
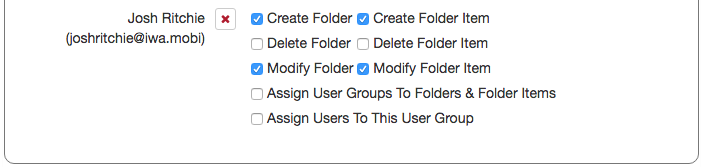
Individual Users In Groups #
Individual users can be assigned certain limitations for each group they are in.
Properties/Relationships In Admin Console #
Properties and relationships within the admin console can be customized to fit the needs of the database. If the permission is granted to the user they can create or delete.
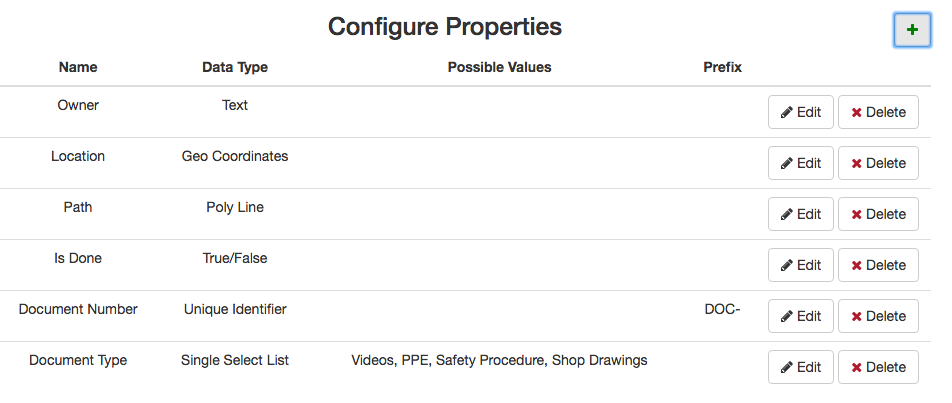
Properties In Admin Console #
From the console the user can add, remove, or configure user properties. To add a new property just left click on the green addition button on the right hand side.
Property Data Types #
When the user adds a new property or edits an existing one they will be given the option to name it and decide what type of property it is.
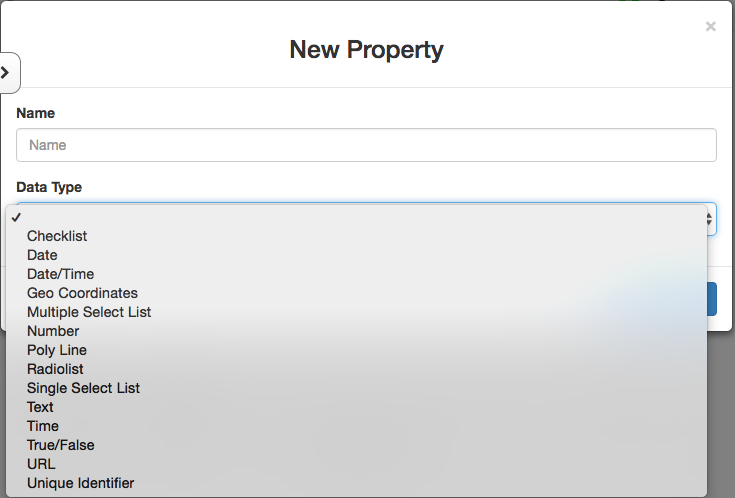
Checklist- User creates a checklist with a single or multiple items to check off.
Date- Users can select a date. (MM/DD/YYYY)
Date/Time- Users can select a date and time with a minimum of five minute increments.
Geo Coordinates- Users can select a Use my Location option, can manually enter a longitude and latitude, or can be used with Google Maps.
Multiple Select List- Used to select multiple values from a list.
Number- The user can give the object a number value.
Poly Line- The user maps out a route using waypoints on a map.
Radio List- Radio buttons allows the user to select ONE of the values amongst a limited field.
Single Select List- Used to select a single type of value from a list.
Text- User can write any text in the field.
Time- Can add a time stamp with a minimum of five minute increments.
True/False- True or False options only.
Unique Identifier- User can set a suffix that is followed by a number that increments by one every time a new object has the unique identifier property added to it.
URL- Allows the user to tag entry as a webpage.
Relationships In Admin Console #
Relationships are directly affected by the properties within the database. If the database has no properties the user cannot create a relationship.
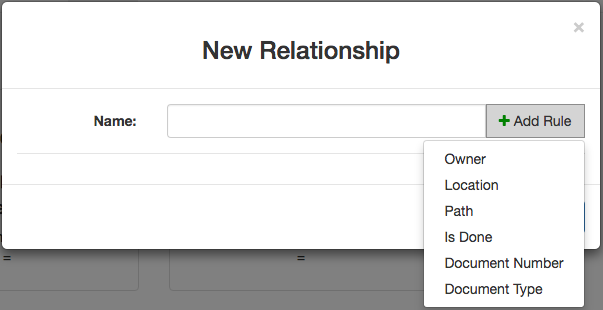
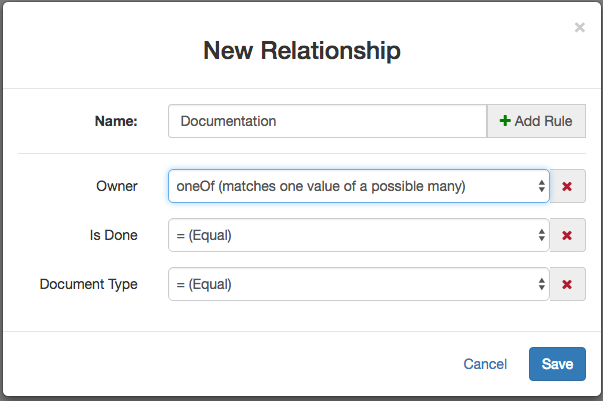
Relationships can have multiple properties (rules) to make any sort of connection desired by the user. The rules are displayed below the name of the relationship they can be set to be an equal match or to match a variety of different options.
Misc. Admin Console #
Bulletin Categories #
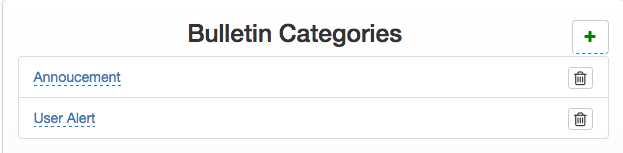
Bulletin categories allows the user to add, remove, or change categories for the bulletins posted on the board. The user just has to left-click on the green addition symbol and type the name they choose.
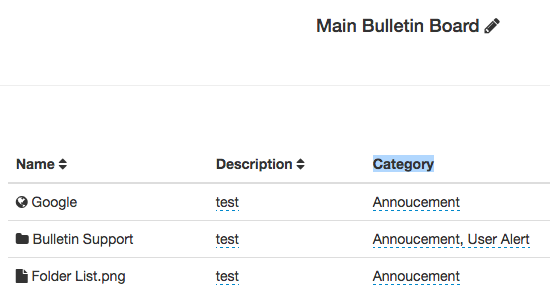
By default on the bulletin board a category is not chosen on a post. The user decides on a category respectively by left-clicking on the category section beside the name of the post.
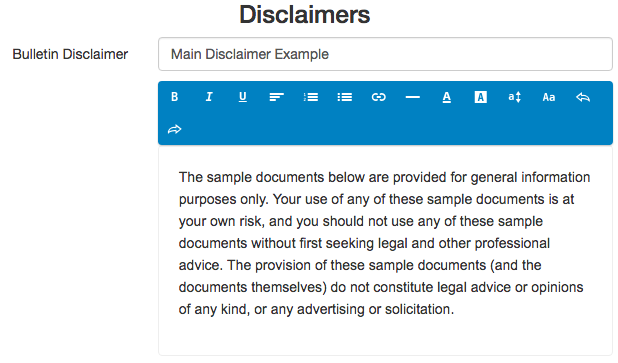
Disclaimers #
Disclaimers are statements that deny certain things most likely responsibility. Shore allows the user to write a disclaimer for three different locations.
Bulletin disclaimer
Sign up Disclaimer
Footer Disclaimer
API Keys #
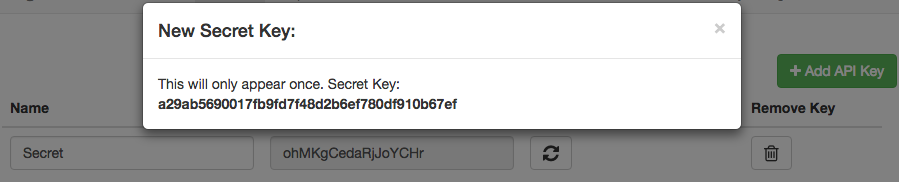
An API Key (Application Programming Interface Key) is a code passed on by computer programs calling an API (Application Programming Interface) to identify the calling program, its developer, or its user to the web site. API keys are used to track how the database is used and to make sure that abuse of the page does not occur.
To add a new API key just left click the add API Key button. All the user has to do is name the API key and the rest will be generated for them. The secret key is only shown once but can be regenerated to create a new secret key.
Form Templates In Admin Console #
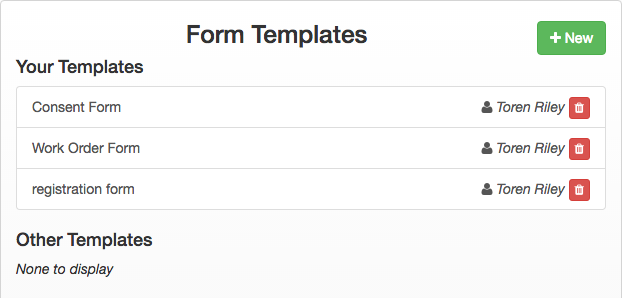
Form Templates #
Form Templates allows users to upload or view a variety of Spreadsheet based form templates. Forms are sorted by forms uploaded by the user and forms updated by another user. Forms can also be edited in the Form Builder.
Once a form template has been uploaded the user can see a variety of information about the form. The form viewer shows:
- A preview of the form
- The version number of the form
- whether the form is published or not
- Who created it
- The date it was created
- Shows the data tags used in the form
- Any lists within the form
- Any references to other parent or child forms
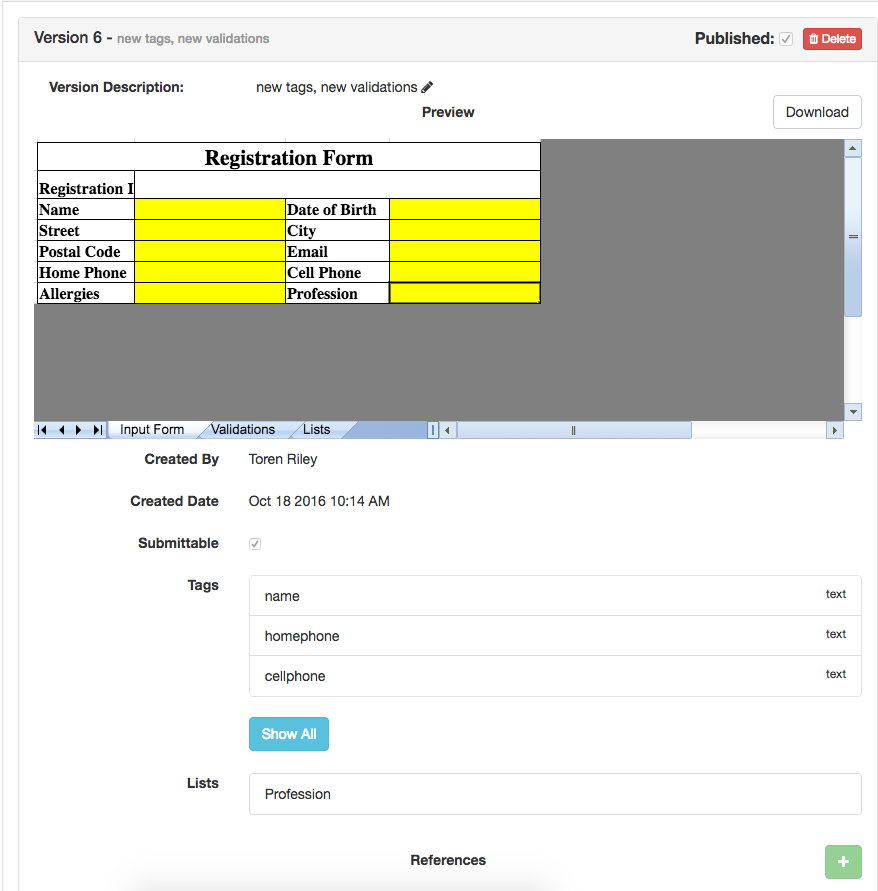
Any version of the form can be viewed, deleted, or downloaded locally.
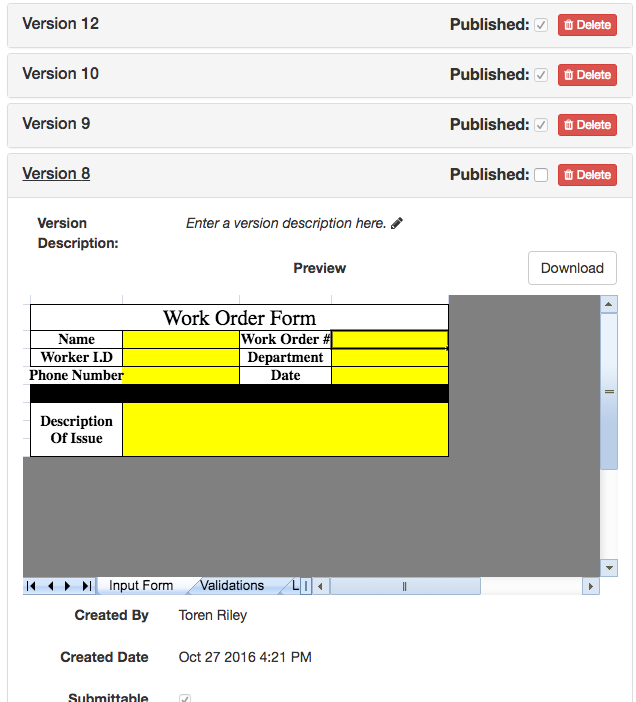
New Versions of the form can be uploaded outside of Shore from the left hand side of the page.

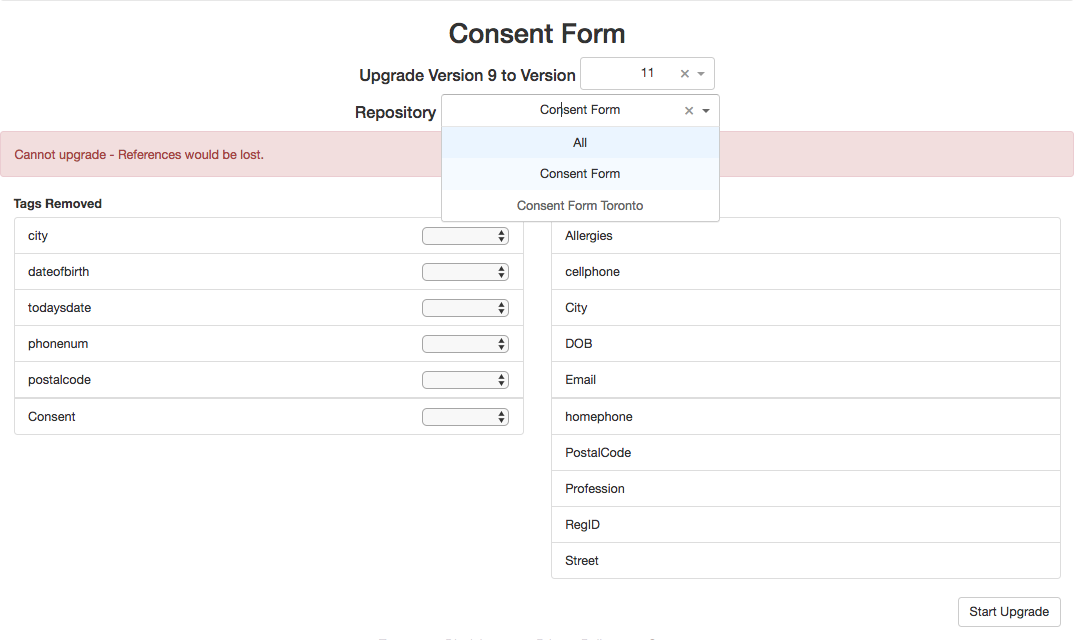
Upgrading A Form #
When an old version of the form is being deleted the user will be prompted to upgrade the forms from that version to the newer version.

The form upgrader allows the user to remove or rename tags that no longer appear in the new version. Also gives user what tags have been added since that form.
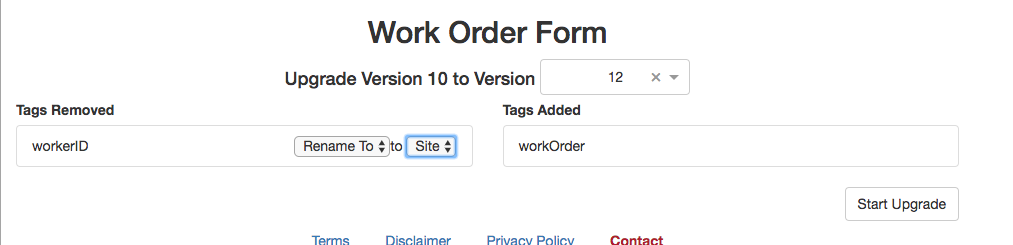
The user can choose to upgrade only one version of a form to another. The user can also choose a specific repository to upgrade rather then upgrading all versions of that form in every repository.
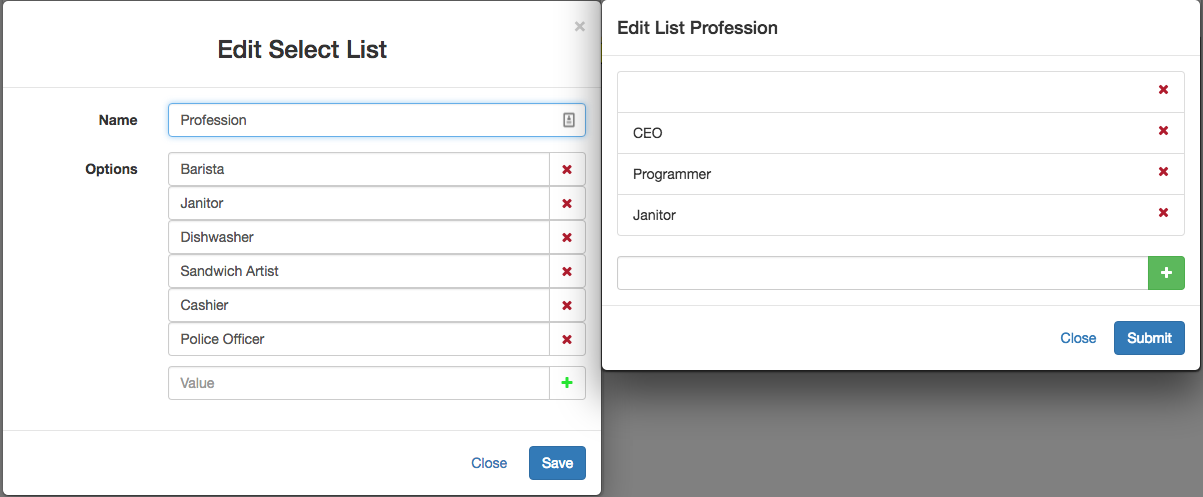
Select Lists #
Select lists are the same as the lists that are personalized in a form. Selects lists do take precedent over the lists defined within forms. The name of the select list has to be the same as the tag name for it to be recognized.

The two lists below show the differences between them. The select list formatted within the admin console while the other list was formatted in the form itself.